
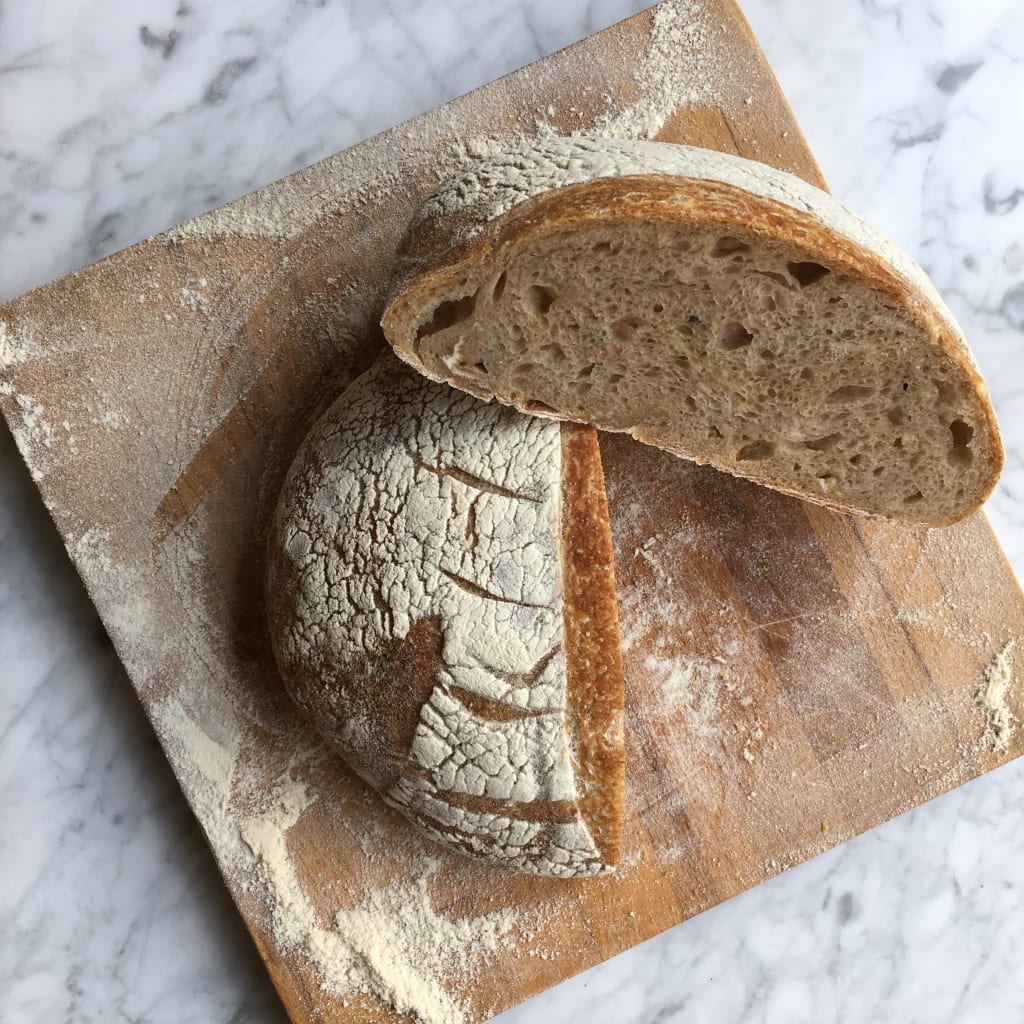
Sourdough for Beginners
A Step-by-step Guide on How to Get Your First Great Sourdough

Bear in mind that this sourdough will take three days to make, so be prepared for this before you start.
Starter
- Take 2 tablespoons of your starter and place them in a bowl, add 125ml of water, and stir in the starter.
- Then add 62g strong white flour and 62g of wholegrain spelt and mix to combine. This is what sourdough recipes mean when they mention a starter at 50/50 hydration.
- Cover the starter in cling film and leave it in a warm dark place overnight to develop.
The Dough
- 375g strong plain flour
- 125g wholegrain spelt
- 375ml of cold water
- 10g salt
- 50ml water
The first step of this is called "autolyse." Autolyse is the process of mixing all of the flour and water together before adding the starter and salt in order to promote gluten development in the flour.
- Mix all of the flours and the 375ml of water together, cover with clingfilm, and leave the mixture to one side for half an hour.
- Take your starter out. It should be very bubbly. To test whether the starter is ready, take a small amount of the starter (about a quarter of the teaspoon) and drop it into a bowl of water; if it floats, it is ready to go. If not, leave it for about half an hour.
- Add 100g of the starter into the autolyse mixture and using your index fingers and thumbs, "pinch" the mixture together until the starter is totally incorporated. Mix the salt and the 50ml of water together until dissolved and pour it into the dough. Again "pinch" the dough together until fully incorporated.
- Tip out your dough onto a clean surface. It will be quite a runny dough—don’t worry, this is normal. Scoop up the dough, lift it up high, and slap it down onto the surface. As you throw the dough down, allow it to fold onto itself. This is called the "slap and fold" kneading method. It will take you a few tries to get used to the technique but you should feel the dough get slightly stronger as you build the gluten chains and the dough becomes more elastic. You will need to continue this process for about five minutes.
- After five minutes, oil a large rectangular box (I just use a large tupperware) and place your dough inside. Cover the box with clingfilm or place the lid on top (don’t clip it shut) and keep it in a warm place at around 30°C. I personally don’t own a proving oven so I pop mine in the airing cupboard.
- This is called the bulk fermentation phase. Every half an hour you will need to fold your dough. You do this by oiling your hands and scooping them under the centre of the dough, lifting it up, and moving it back and forth to allow it to fold in on itself. Rotate the bowl 90° and repeat the fold. Return the dough back to prove for an additional 30 minutes. In total, you will want to complete 8 folds over four hours. Like I’ve said before, sourdough is quite a commitment!
- Once you have completed all of your turns, it’s time to shape! Tip your dough out onto an oiled surface and use a bench scraper to try to tuck the outside edge of the dough underneath to stretch the "gluten net" you have formed around the dough. I recommend oiling the bench scraper to do this. Don’t worry if it isn’t perfect. This takes a lot of practice. I know, I needed a lot! Once you are happy with the shape, cover the dough in flour and a clean tea towel and leave to one side for 10 minutes.
- While the dough is resting, take either a bread shaping basket (a boule) or a small colander and place a clean tea towel in the basket. Make sure that the excess tea towel is hanging over the side of the basket. Use a sieve to sprinkle a generous amount of flour over the towel to avoid the dough sticking to the tea towel too much.
- After ten minutes, flour an area to the side of your dough and flip it over onto the floured surface so that the sticky part of your dough is exposed. Now shape the dough gently into a rectangle shape. Fold the bottom of the rectangle up into the centre then fold the left and right sides over the top. Gently tug the top edge of the dough out and fold it into the centre. This next process is called "stitching," which is when you pinch the edges of the dough on the bottom together to seal them. Flip your shaped dough over onto the seam and leave it for five minutes to allow the edges to seal together.
- Once your five minutes are up, you need to put your dough into your shaping vehicle. Quickly slide a bench scraper under the dough and get your hands under the dough. You need to place the dough into the basket seam side up as you want the top of the dough to get the nice shape. Flour the dough again and fold the tea towel over to cover the seam. Place your dough in the fridge overnight.
In theory, you could shape the dough about an hour before going to cook it, but then you wouldn’t get as much flavour development so it is up to you on what you want from your sourdough.
Baking
- There are two ways of cooking a sourdough, in a Dutch oven or just in the oven on a baking stone/baking sheet. Either way, you need to preheat your oven to 200°C. Place whatever you are using into the oven while you get your dough ready.
- If you are using a Dutch oven cut out a circle of baking parchment just smaller than the base, flour it, and flip your dough onto it. If you want to use a baking stone or sheet, heavily flour a baking sheet and flip your dough onto that. Use a very sharp knife to score your dough. Make sure the cuts are a few millimetres deep to ensure the scoring works.
- When your dough is ready and your oven is well-heated, you’re ready to bake. If you are using a Dutch oven take it out of the oven, drop your dough in, in one smooth motion; keeping the parchment paper on, pop the lid on and put it in the oven. You will need to keep the lid on for the first 15 minutes of cooking and then take it off to allow the dough to cook for an additional 30 minutes.
- For a baking stone, get some ice cubes ready. Open the oven and slide your dough onto the baking stone followed by the ice cubes to create a steam injection into the oven.
- For the baking sheet, get some ice cubes ready. Place your baking sheet onto the baking sheet that has already been preheating in the oven to give the bread an injection of "bottom heat," then throw in the ice cubes at the bottom of the oven.
- Cook the loaves for 45 minutes in total. They are cooked when a tap on the bottom of the loaf emits a hollow sound.
Allow the loaf to cool completely before eating.
Thanks for reading! I hope you enjoyed my sourdough recipe. Sourdough is something that takes a lot of practice. Personally, I make a loaf once a week to keep me in practice. If you have leftover bread, give it to a friend! There’s nothing quite like a homemade loaf.
About the Creator
Keep reading
More stories from Faith Stratton and writers in Feast and other communities.
Sourdough Starters
Sourdough – this word used to both interest me and terrify me when I was in cookery school. There is something totally magical about the premise of a sourdough. You’re telling me that you can make a whole loaf (a totally delicious loaf) using only flour and water? That sounds equally brilliant and insane. So, what is a sourdough, how does it work, why is every shop in Shoreditch advertising them?
By Faith Stratton6 years ago in Feast
Grandma's "Poor Man's Meal" Recipe From The 1930's Kept A Lot Of Bellies Full For Cheap
This is a real recipe from the Great Depression Era, right from my own grandma's memory and recipe box. However, this recipe was not at all confined to just my family's recipe box. Thousands of families prepared and ate the Poorman's Meal during this time. The purpose of this meal was to be extremely cheap and filling, which is what people needed to survive in the 1930's. You had to be creative and think on your feet to keep your hungry household fed and happy. Learning to stretch food and ingredients became more of an artform and less of a chore. Let's take a look at the components that were combined to fill so many hungry bellies and why they worked.
By Richelle Gerner, Rootbound Homestead6 days ago in Feast
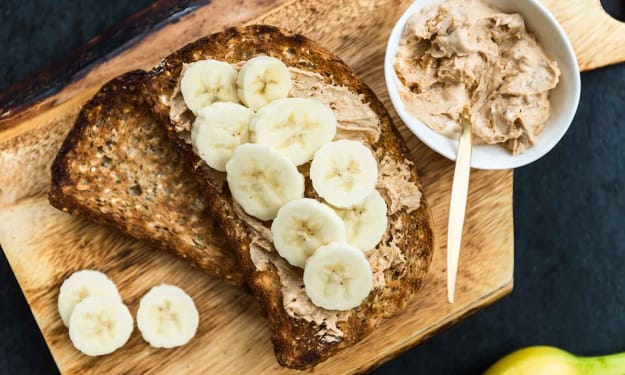
10 Healthy Breakfast Recipes to Kickstart Your Day
We've all heard it before: breakfast is the most important meal of the day. Yet, in our fast-paced lives, it's all too easy to skip breakfast or grab something less-than-healthy on the go. But what if I told you that starting your day with a nutritious breakfast doesn't have to be complicated or time-consuming? In fact, with the right recipes, you can whip up a delicious and healthy breakfast in no time!
By Arshad Mecci2 days ago in Feast


Comments
There are no comments for this story
Be the first to respond and start the conversation.